- product
- TL Camera Control system
- product use
- Started Guide Extended settings Video center Photography Guide
- Service Support
- After-sale policy Sales network FAQ Download
- Contact us
- Contact information Message
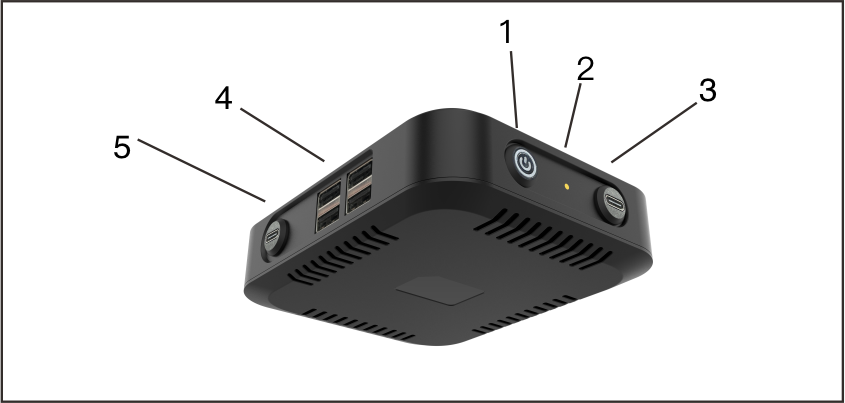
1. Power switch 2. Camera working LED indicator 3. Charging 5Vtypc port 4. USB port 5. Camera power supply 9V port (* Please note that the 9V port can only be connected to cameras with corresponding voltages)
(View the list of cameras supported by farpov SLR controller)
1. Hardware link
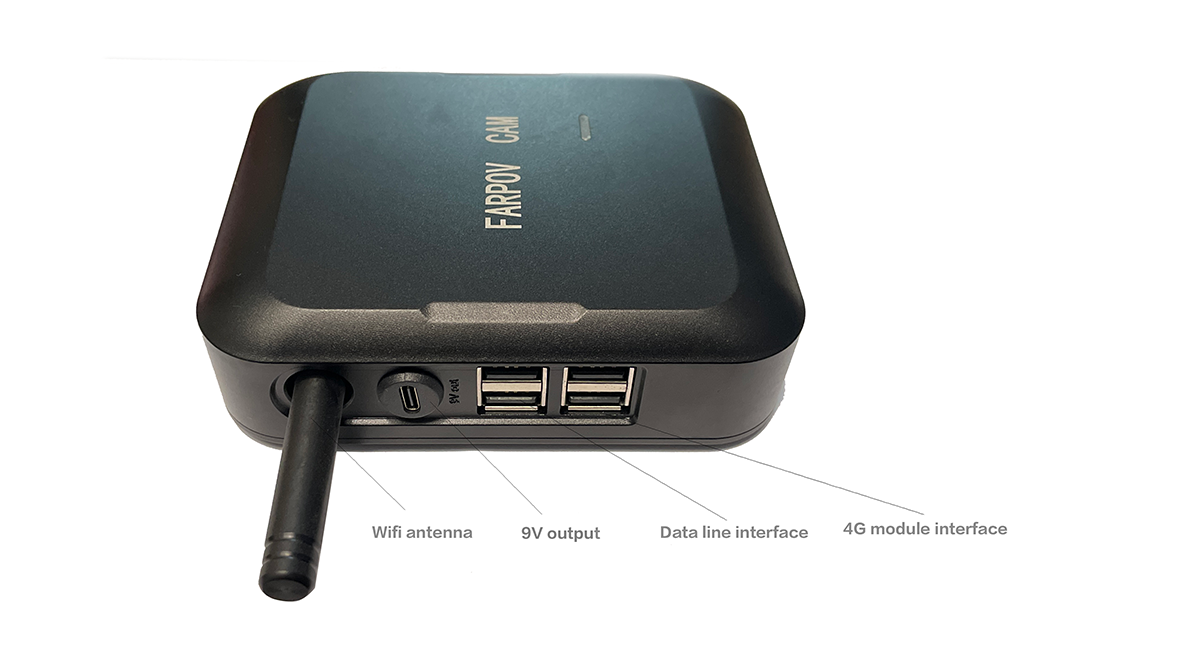
a. Connect the fake SLR battery to the 9v typc port.
b. Connect the camera data cable to any one of the 2 USB ports.
c. Insert the 4G/5G module into the SIM card (make sure the SIM card has traffic and can be used normally) and insert it into the controller.

2. Power on
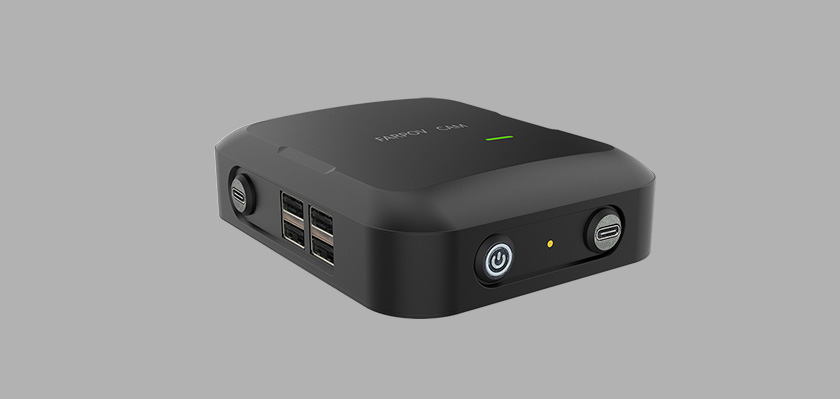
Short press the power button, the power indicator light is always on, and the farpov camera controller is turned on. If the hardware connection is normal, the camera will automatically turn on to take pictures and transfer the photos to the cloud.
3. Log in to the control system
a. Enter www.farpov.net on your mobile phone or computer browser;
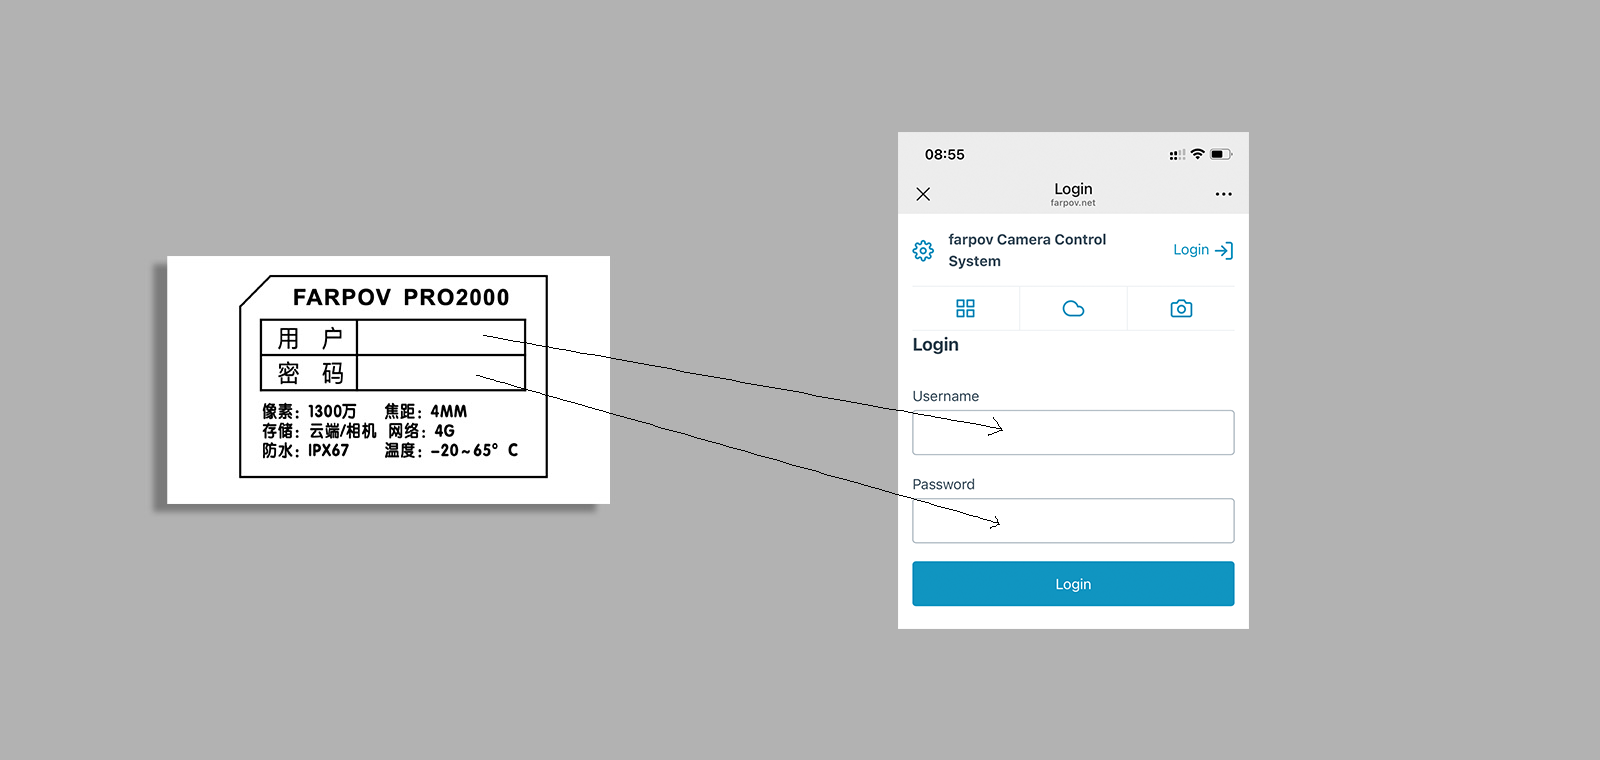
b. Find the user ID and password on the back label of the controller;
c. Enter the controller ID and password on the login interface to enter the Farpov controller system and see the photos uploaded by the camera and the setting parameters.
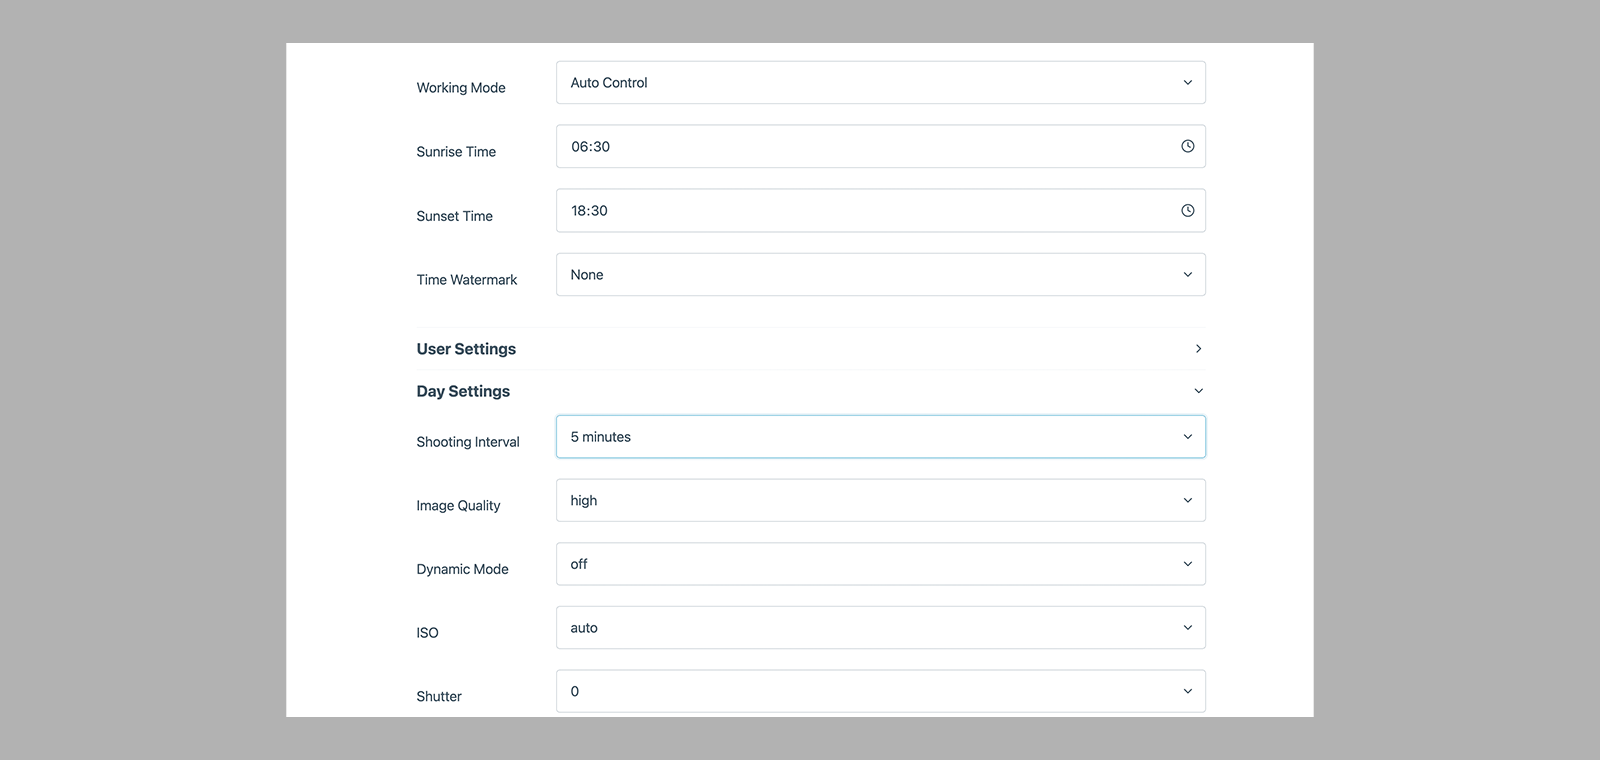
d. Set the shooting parameters (see the description section of parameter settings), and you will see the returned photos in the photo browsing item;
e. Set the shooting interval to 30 seconds, and the camera will enter the full power consumption state. At this time, the camera screen will not go out, which is convenient for users to view and focus during installation.
(Some camera models need to disconnect the USB data cable before the camera screen can display it in real time)
f. Set the shooting interval to 5 minutes or more, and the camera will enter the ultra-low power shooting mode. The longer the interval, the more power it will save.
4.Download photos in batches
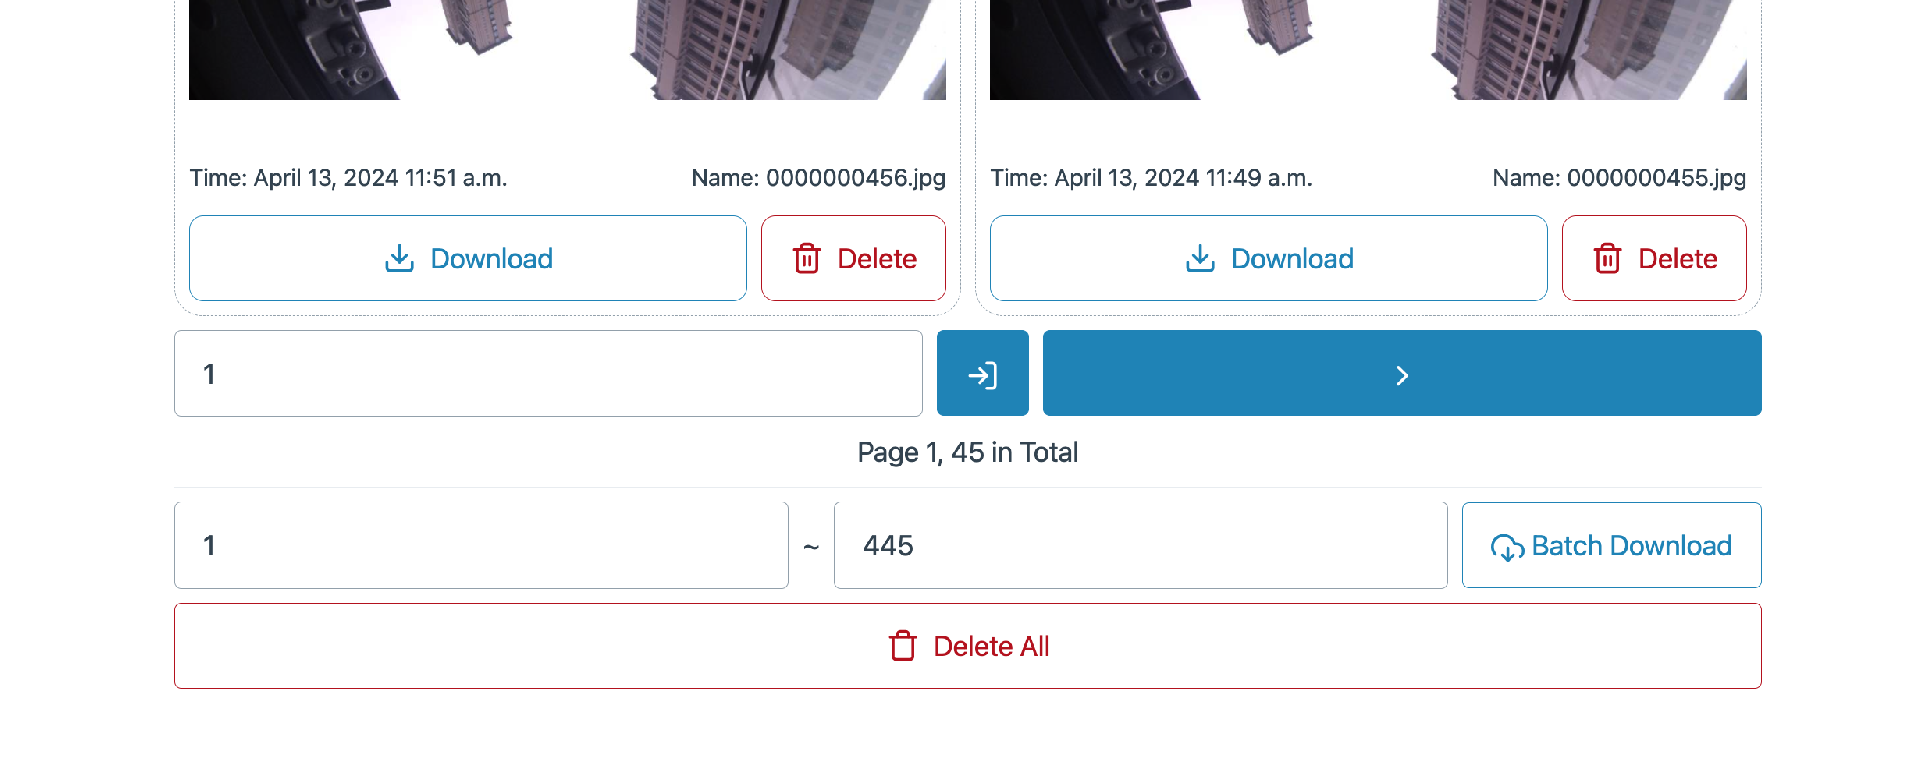
a.To download photos in batches, you need to use the download tool. Download the tool at this link
b.Click the Batch Download button at the bottom of the photo list to download a txt file containing links to all the photos.
c.Import the downloaded txt file into the download tool and start downloading